Schedule A Free Consultation | (630) 991-8700

January 23, 2021 •Brian Hogan

All home renovation projects offer a refreshing boost toward better living, but there’s something decidedly wonderful about a remodeled kitchen. From thoughtful design that reconfigures and expands your space to innovative storage solutions and high-end finishes, a new kitchen works hard for your family and looks good doing it.
Somewhere between the final walk-through and the first meal in their newly renovated kitchen, most homeowners have one pressing question: what’s the best way to take care of the various high-end surfaces so they’ll age beautifully and function flawlessly for years to come?
![]() VIEW Our Complete Kitchen Portfolio
VIEW Our Complete Kitchen Portfolio
There’s a dizzying array of materials used in kitchen design and renovation these days; here’s how to clean and maintain a few of the most popular choices:
Countertops
Countertops are a perfect fusion of beauty and utility. There are perhaps more material options for these daily work surfaces than for any other element of kitchen design; some materials have very specific care and maintenance requirements to keep them in prime condition.
Five favorites are:
Granite
Granite countertops are easy to keep clean — simply use warm water and a few drops of mild dish soap to wipe them down with a soft cloth or sponge. To prevent stains, don’t let spills sit; wipe them up as soon as you see them.
Never use ammonia, bleach, or any other harsh cleaner on granite. To disinfect your counter, you can use a 1:1 mixture of water and 91% isopropyl alcohol on occasion. Spray the mixture over the surface, let it sit for a few minutes, remove it with a damp cloth, and then wipe it dry with a clean cloth.
Granite must be sealed regularly (about once a year) to prevent the stone from absorbing spills and stains. Use the “water drop test” to determine whether your countertop is sealed: simply place a few drops of water on the surface; if they soak into the stone, it’s time for a fresh seal.
Marble
Marble is a relatively soft and porous surface that requires gentle daily care — like granite, you can keep it beautifully clean with a mixture of water, mild dish soap, and a non-abrasive cloth or sponge. Avoid using harsh or acidic cleansers, which can penetrate and damage the stone.
When preparing food on marble countertops, take extra care with acidic liquids (lemon juice, tomato sauce, etc.), as they can etch or stain the surface. Use a paste of baking soda and water to remove oil-based stains; hydrogen peroxide can get rid of water-based stains.
Marble needs to be sealed monthly, with liquid spray sealant, to keep it in prime condition.
Quartz & Soapstone
Quartz, or engineered stone, is found in many new/newly renovated kitchens today due to its beauty and easy upkeep. Besides being simpler to maintain than granite and marble, it’s stain-resistant and extremely durable. For daily cleaning, you can use the standard mixture of warm water and mild dish soap, or you can use a non-abrasive all-purpose surface cleaner. Nothing else is needed to keep it in prime condition.
Soapstone, a natural non-porous alternative to quartz, can be cleaned in much the same way. Unlike the engineered stone, it additionally requires the occasional application of mineral oil to keep it looking great. Simply rub the oil across the countertop and wipe away the excess. Over time, mineral oil treatments will help the soapstone oxidize, or darken, evenly.

Stainless Steel
There’s a reason that stainless steel is the countertop of choice in professional kitchens — it’s heat resistant, extremely durable, easy to maintain, and even easier to clean.
For daily cleaning, wipe down stainless steel counters with a damp and soapy non-abrasive sponge; then, rinse the surface with plain water and dry it with a soft cloth. To keep it looking its best and prevent stains and unsightly scratches, clean up spills right away and use a cutting board.
To remove stains, make a paste with water and baking soda. Use a soft rag to apply the paste directly to the stain, rubbing in the direction of the grain. Stubborn stains can be tackled with the same paste and a soft-bristled brush.
Use olive oil, lemon oil, or a diluted vinegar/water mixture to shine the surface and remove fingerprints.
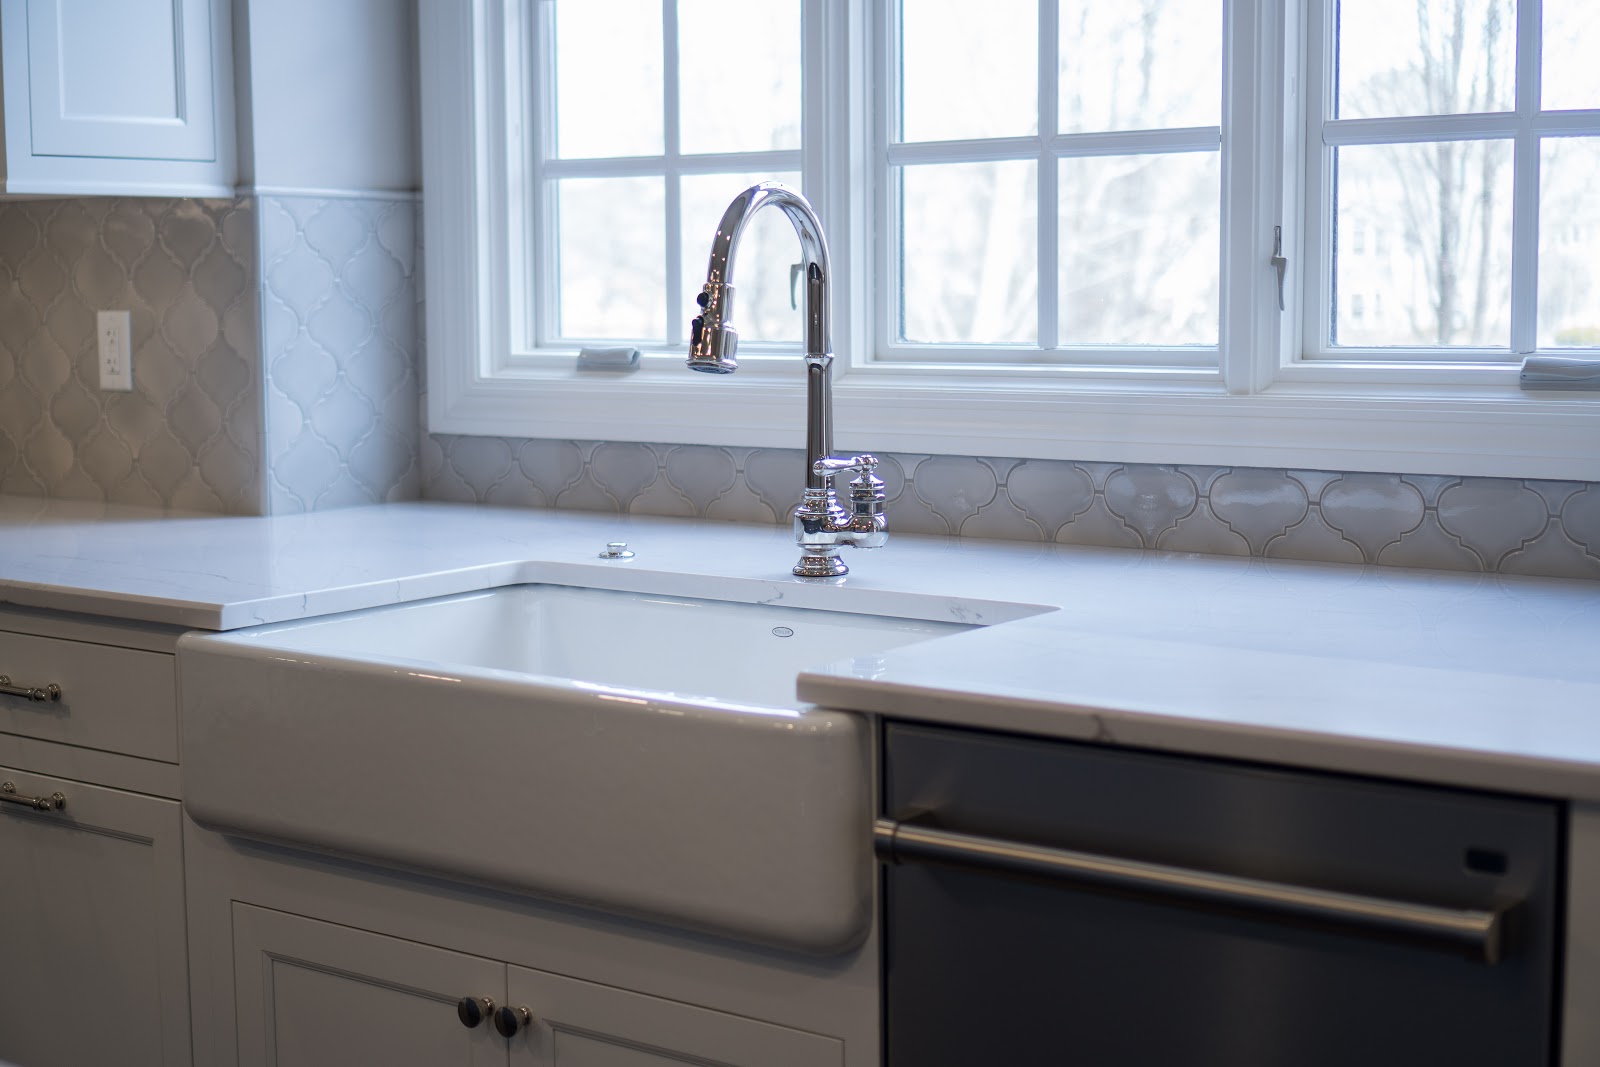
Kitchen Sinks
Kitchen sinks can be made from a wide range of materials to suit any style. But no matter what it’s made from, routine cleaning is the best way to remove bacteria and prevent scuzzy mineral buildup (scale). Popular sink materials include:
Porcelain
After wetting the sink, sprinkle a liberal amount of baking soda across the entire surface. With a non-abrasive sponge, rub the baking soda until it forms a paste. Continue to scrub the sink as needed, using a toothbrush to scour the areas around the drain and faucet.
After you rinse off the paste, it’s time to sanitize. A white vinegar rub is one of the easiest and greenest ways to disinfect a porcelain sink; simply soak a rag in white vinegar and use it to wipe down the sides and bottom of the sink. Rinse the vinegar and wipe the sink dry with a soft cloth.
These same cleaning strategies work just as well for stainless steel sinks.
Cast Iron
Enameled cast iron sinks have made a major comeback — it’s the material of choice for the ever-popular farmhouse-style kitchen sink. To clean enameled cast iron, use a non-abrasive cleanser that won’t scratch or pit the surface. For daily or weekly cleaning, mild dish soap and warm water on a soft sponge is best.
To remove stains, make a paste with water and baking soda and scrub gently. Let the paste sit on the stain for several minutes if it’s particularly stubborn.
After years of wear and tear, enameled cast iron sinks usually need to be resurfaced by a pro.
Fireclay
As one of the most durable sink materials available today, fireclay tends to be more resilient than porcelain or enameled cast iron. Even so, fireclay also does best with gentle care.
For daily cleaning, use mild dish soap, water, and a soft sponge. When your sink is in need of a deeper clean, use a mildly abrasive cleanser or simply scrub it with a more abrasive sponge.
To prevent water spots, routinely wipe the sink dry with a soft cloth. Baking soda paste and a little elbow grease can remove stains from fireclay.
To keep your fireclay sink looking great year after year, apply a thin layer of liquid wax to the basin every now and then. This makes the surface more slippery so water flows quickly down the drain, rather than pooling at the bottom of your sink.
Tile Backsplashes
As with any kitchen design element, the beautifully functional backsplash that protects your walls from water and grease damage can be created with different materials. Even so, the vast majority of kitchen backsplashes are made from some type of nonporous or sealed tile.
Tile backsplashes will continue to look their best for years to come with the right kind of care. For most types of tiling that are used on kitchen walls, you should:
- Wipe often: Wipe down dusty, dirty, splattered, or sticky tiles with warm water and mild dish soap to remove residues as needed. Use a non-abrasive sponge or a soft cloth so you don’t scratch the tile.
- Cleanse gently: For routine cleaning, use mild dish soap and water or a mixture of vinegar and water. Apply your homemade cleanser with a soft cloth; rinse it frequently as you work to avoid leaving dirty streaks behind.
- Deep clean: On occasion, use a non-abrasive all-purpose surface cleaner to tackle residues and stubborn stains. After you rinse the tile, dry it with a soft cloth to prevent water spots.
- Don’t forget the grout: Grout absorbs dirt and stains easily. Every few months, use a diluted bleach solution or a commercial grout cleaner to keep it looking fresh. If you’re using a product specifically made for grout, follow the directions on the bottle.
If you’re using a homemade solution of diluted bleach, spray it onto the grout and let it sit for up to 10 minutes before you rinse it off with warm water.
Wooden Cabinets
Although kitchen cabinets come in a wide range of finishes, most are made of wood-based materials (hardwood, plywood, medium-density fiberboard, particleboard, etc.) You can keep your cabinets looking clean and fresh in three basic steps:
- Make a gentle cleanser: Create a 1:1 solution of white vinegar and water and pour it into a clean spray bottle. Add a few drops of mild dish soap if your cabinets are extra greasy or grimy.
- Clean thoroughly: Spray the solution across the surface of each cabinet; let it sit for a few minutes. Then, with a clean damp sponge or cloth, wipe down each cabinet to remove the cleaning solution and grime. Repeat as necessary with a freshly rinsed sponge or cloth. Don’t forget to wipe down door handles and hinges as well as drawer pulls.
- Dry completely: When you’re done cleaning, use a soft towel to dry every surface.
Harsh cleansers and abrasive scrub brushes can damage wood and wood finishes — never use either to clean your kitchen cabinets.
For more home-related trends, tips, and advice from the team at Hogan Design & Construction, subscribe to our monthly e-newsletter, catch up on our weekly blog, or follow us on Facebook or Instagram.