Schedule A Free Consultation | (630) 991-8700

April 29, 2021 •Brian Hogan
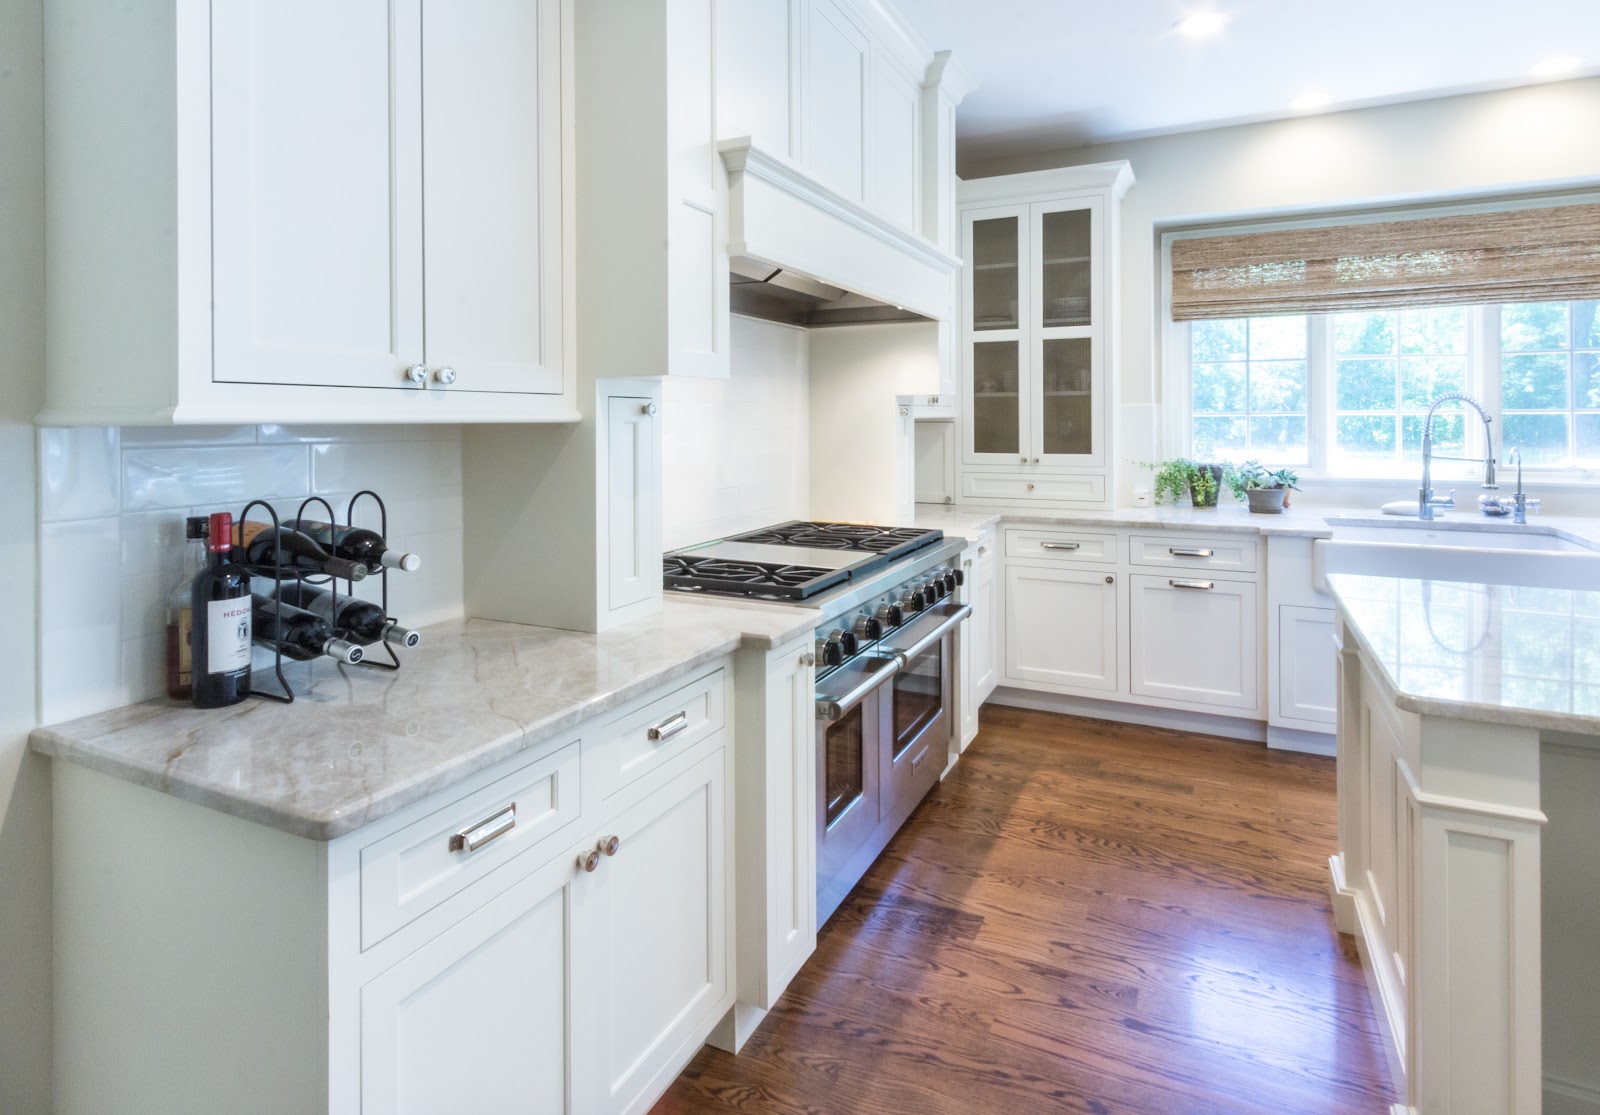
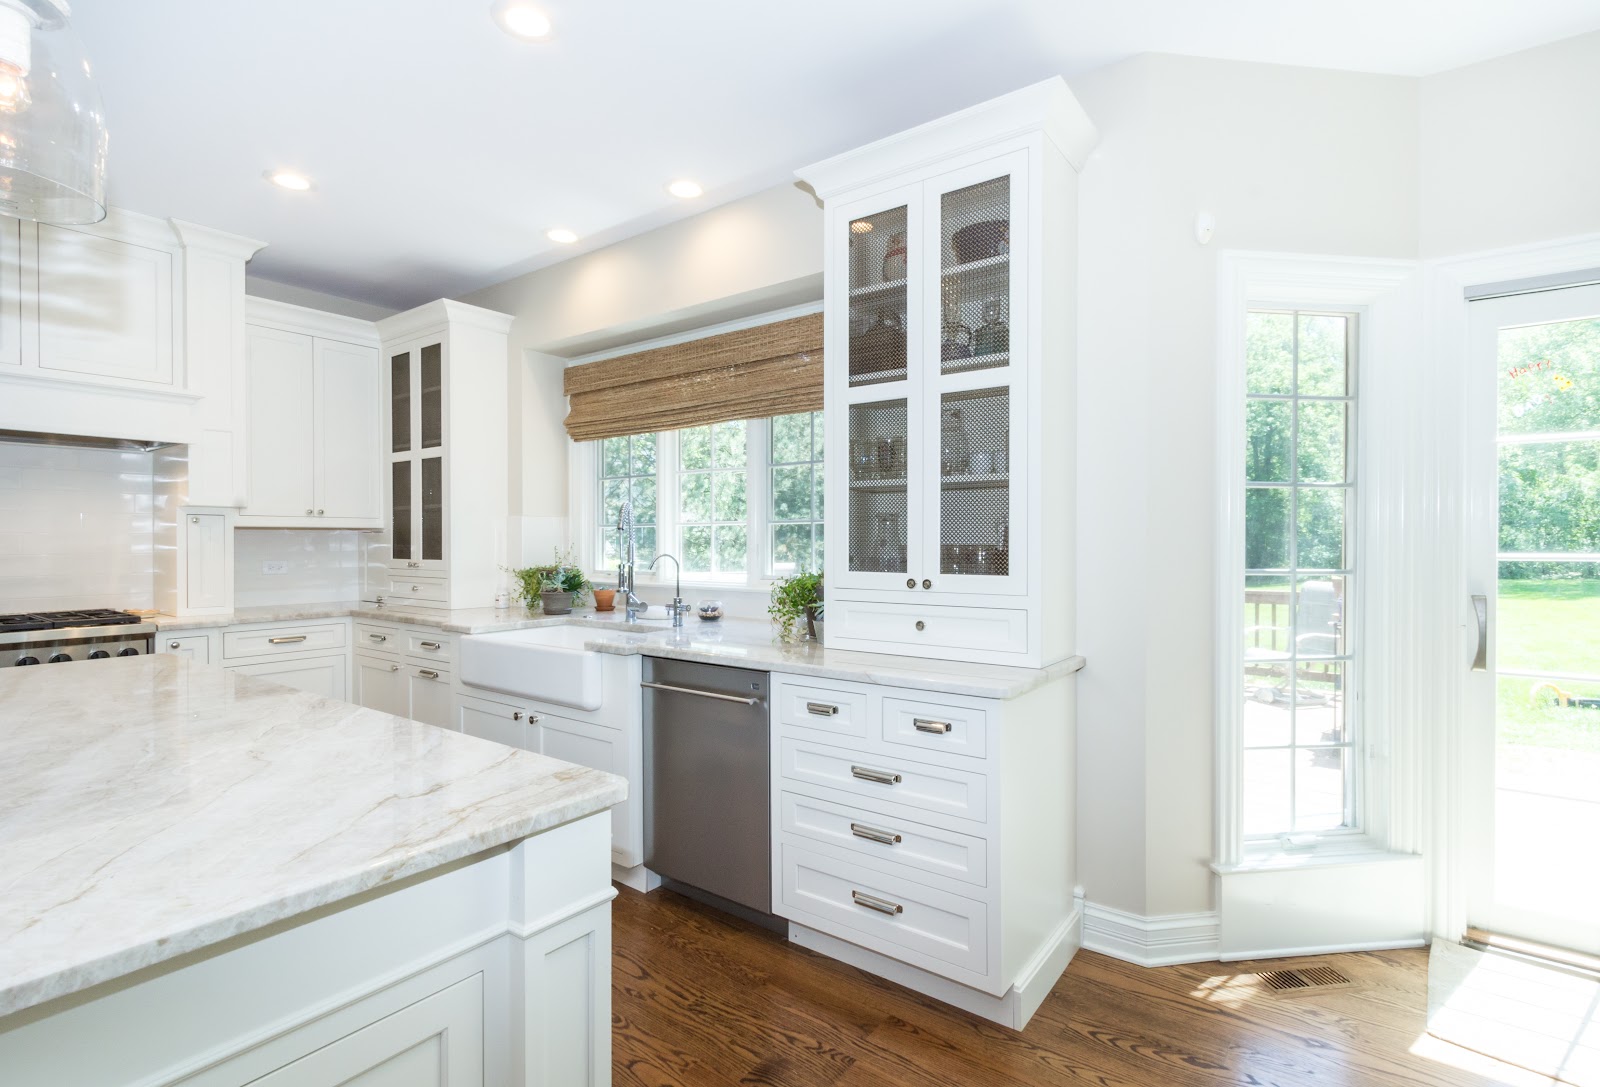
An outdated kitchen doesn't always call for a complete overhaul. When your layout works, you've got plenty of storage, and your appliances are still in great condition, a kitchen cabinet “facelift” may be all it takes to elevate and revitalize your space.
As a cornerstone element of kitchen design, cabinetry sets the tone for the most dynamic room in your home: worn-out cabinets can make the entire space feel past its prime; pristine cabinets that are on point can make your space feel fresh and welcoming.
A well-executed cabinet makeover is an easy and effective way to update your kitchen for just a fraction of what it costs to install new cabinets. Let's explore simple techniques for breathing new life into old cabinets.
Assessing Your Existing Cabinets
Before diving into a kitchen renovation, it’s crucial to assess your existing kitchen cabinets to determine the best course of action. Start by inspecting the cabinet boxes for any signs of damage, wear, or water damage. If the boxes are structurally sound, you might only need to update the cabinet doors and hardware.
Next, evaluate the cabinet doors for any signs of wear, scratches, or damage. If the doors are in good condition, refinishing or repainting them could be a viable option. Don’t forget to check the cabinet hardware, including handles and hinges. Outdated or worn hardware can be easily replaced with new hardware to give your cabinets a fresh look.
Lastly, consider the style of your cabinets. Think about whether the current style fits with your desired kitchen aesthetic. If the style feels outdated or no longer suits your taste, it might be time to consider replacing the kitchen cabinets entirely.
Paint Your Kitchen Cabinets
Just as it can work wonders on walls, a fresh coat of paint can utterly transform your kitchen cabinets, and in turn, your kitchen. If your cabinets are made of wood, wood laminate, or metal, painting is a relatively easy job that can be done in five basic steps:
1. Remove doors and drawers
After you cover your countertops, appliances, and floor with protective sheeting, empty your kitchen cabinets and remove their hardware, hinges, doors, and drawers. Using masking tape to label each drawer and door with its corresponding location helps ensure each piece will fit or line up properly when it's ready to reinstall.
2. Clean surfaces thoroughly
Given that paint adheres best to clean surfaces, you'll want to use an all-purpose cleaner and degreaser to scrub away sticky food residues and liquid splatters. Adding TSP and a few drops of Dawn dish soap to a bucket of warm water makes an excellent cleaning solution that can cut through a layer of oily residue. Clean and rinse each surface you plan to paint, allowing them to dry completely before moving on to the next step.
3. Lightly sand each surface
Lightly sand your cabinet boxes, doors, and drawers on all sides and faces, using fine grit sandpaper for the best results. If you don't plan to paint the inside of your kitchen cabinets, mask the area off with painter's tape for a clean finish and sand only the exterior surface of the cabinet frame.
The goal of sanding isn't to completely remove old paint or stain; it's to roughen the surface just enough to provide a fresh coat of paint with a firm, clean base that promotes optimal adhesion. If you're removing a shiny finish, however, it's important to sand the surface until it's deglazed. You may have to treat stubborn glazed finishes with denatured alcohol and fine steel wool.
When you're done, vacuum the sanding dust from every surface and crevice. Wipe everything down with a soft cloth to get rid of any remaining residue. Homeowners often underestimate the impact of light sanding followed by new paint—it’s one of the simplest ways to refresh cabinetry without the cost of full replacement.
VIEW Our Complete Kitchen Portfolio
4. Apply a primer-sealer
Apply an even coat of primer-sealer to all surfaces. Besides reducing the need to perfectly sand and deglaze old finishes before you repaint your cabinets, primer-sealer helps ensure a smooth, well-bonded finish. Primer-sealer is a great base for high-gloss enamel paint and semigloss water-based products alike.
5. Paint, paint, paint
Paint systematically, starting with the inside edges of the face frames followed by the outer cabinet sides and the face frame fronts. Next, paint the doors and drawer fronts along with any separate wood pieces or moldings.
When painting kitchen cabinets, it's always best to apply thin, light coats. Besides drying more quickly, thin coats leave fewer visible brushstrokes. Many homeowners find that painting cabinets with a paint sprayer produces a smoother, more professional-looking finish compared to brushes or rollers. Allow the first coat to dry for at least four hours (it should feel completely dry). Then, lightly re-sand every surface (wipe away sanding dust with a soft cloth) to prepare it for the second coat.
While two coats of high-quality paint are often sufficient, a third new coat can give your cabinets the extra protection they need against cooking heat, food splatter, and daily wear-and-tear.

It’s All in the Details
Just as homeowners with existing cabinets that are dark often choose to brighten them up with a light color, people who have been living with white kitchen cabinets often choose to make them more dramatic by upgrading cabinet door hardware to enhance both aesthetic appeal and functionality.
Whichever direction you’re heading in, the sky’s the limit when it comes to paint colors and design options. If you’re updating lower cabinets that see a lot of wear, applying a fresh coat can instantly make the space feel new again while adding durability. You may opt for a smooth, basic coat of paint, or you may decide to distress your finish for a more vintage or rustic look. A high-gloss finish provides modern appeal.
You don’t necessarily have to paint all your cabinets the same color, either — it’s very much on trend to use a lighter color on upper cabinets and a darker hue on the lower ones; you can also highlight a single cabinet with a separate but harmonious color scheme. Lower cabinets can also be painted in a darker tone while keeping the upper ones lighter, creating a stylish two-tone effect that’s very popular in today’s kitchen remodel projects.
Make your cabinets really stand out by adding:
Crown molding
Nothing makes inexpensive, builder-grade cabinets look more polished and sophisticated (and more like custom cabinets) than crown molding. “Trimming” your cabinets with decorative molding is a great way to make them — and your kitchen — feel more finished.
New cabinet hardware
New hardware may be as simple as it gets, but you'd be surprised by how much it can change the feel of your space, especially when upgrading to stylish cabinet knobs and cabinet pulls that complement your overall design.
If you're planning to install new knobs, pulls, and hinges, be sure to fill in the holes from the old hardware with wood filler before you sand and paint your cabinets. When replacing old hardware, make sure to cover or fill any existing holes before drilling new ones, ensuring your new hardware aligns perfectly.
Glass door panels
Modern kitchen design embraces open shelving and glass-panel doors. If it's a look you like, try removing the doors of a single cabinet to create an area of open shelving, or swap two solid doors for glass-panel doors instead.
Pop of interior color
Here's a trick to make your bland, builder-grade cabinets the look of high-end custom cabinets. Whether you're removing cabinet doors, installing glass-fronts, or you're simply tired of boring interiors, you can bring a bit of unexpected visual interest to the inside of your upper cabinets with a pop of color (bright paint colors), pattern (removable wallpaper), or both.
Under-cabinet lighting
While it may be considered “task” lighting, under-cabinet lighting has an ambient feel that can change the entire mood of your kitchen in the evening. To create a soft, warm glow throughout your space, install flexible LED strip lighting above your cabinets, too.
Reface Your Cabinets
If your cabinets are a little worse for the wear, it may be wiser to reface them. This makeover technique refurbishes your existing cabinet frames and gives you completely new doors and drawers to match. Cabinet refacing is done in three basic steps:
-
Remove all doors and drawer fronts, leaving only the frames and drawer boxes
-
Refinish the outer edges of your cabinet boxes to match new door and drawer fronts
-
Install new doors, drawer fronts, and hardware (pulls, knobs, handles, and hinges)
For wood cabinets, regular maintenance and enhancement can be achieved through cabinet refinishing options like staining or lacquering to rejuvenate their appearance and highlight their natural beauty. Applying new stains on existing wood finishes without extensive sanding helps maintain the natural wood grain, and regular cleaning preserves the cabinets' charm.
This is a job that you can do on your own or leave to a pro, depending on your cabinet design goals as well as your DIY skill level; if you’re a DIY novice and you’d like to install new veneer on your cabinet frames, you may be better off seeking help from a pro.
One major benefit of hiring a cabinet refacing expert is that they can increase the height of your cabinets, add upper cabinets, or install other additional cabinets or cabinet drawers to your existing layout as desired.
A word of caution: In today's high-labor-cost environment, hiring a refacing pro can be nearly as much as purchasing new cabinets.
Upgrade Your Storage
No kitchen cabinet makeover is complete if it doesn't consider functionality, or storage and organization. If your cabinets and drawers are simply bare boxes waiting to be filled, there's a lot you can do to make them more functional.
Adding a simple pull-out shelf to every base cabinet makes your pots, pans, and bakeware more accessible; adjustable dividers, which fit like they were custom-made for your drawers, keep your utensils in order. As you shop for organizers, look for solutions that maximize your storage potential.
When to Replace Your Kitchen Cabinets
While updating your kitchen cabinets can be a cost-effective way to refresh your space, there are times when replacing them is the best option. If your cabinets have suffered water damage, it may be necessary to replace them to prevent further issues and ensure the structural integrity of your kitchen.
Structural issues, such as sagging shelves or broken frames, are another sign that it might be time for new cabinets. These problems can affect the safety and functionality of your kitchen, making replacement a wise choice.
If your cabinets are outdated and no longer fit with your desired kitchen aesthetic, replacing them with new cabinets that match your style and budget can be a great investment. Additionally, if your cabinets are no longer functional—such as if the drawers are stuck or the doors won’t close properly—it may be time to consider new cabinets that meet your needs.
Finally, if the layout of your kitchen doesn't work for you, opting for new kitchen cabinets is probably your only choice.
DIY vs. Professional Installation
When it comes to updating or replacing your kitchen cabinets, you have two main options: DIY installation or hiring a professional. If you have experience with DIY projects and are comfortable with carpentry and installation, DIY installation might be a good option for you. It can be a cost-effective way to update your cabinets, but keep in mind that it requires a significant time commitment, especially if you’re working on multiple cabinets.
On the other hand, hiring a professional can provide peace of mind and ensure a high-quality installation. While it may be more expensive upfront, a professional can handle the complexities of the project, saving you time and potential frustration. Consider your skill level, time availability, and budget when deciding which option is best for you.
A Closing Note on Measuring and Planning
Accurate measuring, thorough cleaning, and careful planning are crucial steps in updating or replacing your kitchen cabinets, and it's where a lot of amateur DIYers go astray.
Start by measuring the cabinet boxes carefully, taking note of any obstructions such as plumbing or electrical fixtures. Accurate measurements are essential to ensure a proper fit for new cabinet doors or replacements.
Next, measure the cabinet doors, paying attention to any obstructions like hinges or handles. Proper measurements will help you avoid any issues during installation. Planning the layout of your cabinets is also important. Consider the workflow of your kitchen and the location of appliances and fixtures to create a functional and aesthetically pleasing design.
Finally, create a budget for your cabinet update or replacement project. Consider the cost of materials, labor, and any additional expenses such as tools or permits. A well-planned budget will help you stay on track financially and ensure a successful project.
For more home-related advice from the team at Hogan Design & Construction, subscribe to our monthly e-newsletter, read our weekly blog, or follow us on our social channels.